Author Archives: Nunt

Cumulus Switch Config MLAG

Initial Switch leaf01 and leaf02

nv set interface eth0 ip address 192.168.5.201/24
nv set interface eth0 ip gateway 192.168.5.1
nv set system hostname leaf01
nv set system ssh-server permit-root-login enabled
nv set system ssh-server vrf mgmt
nv set system timezone Asia/Bangkok
nv set service ntp mgmt server 3.th.pool.ntp.org iburst on
nv set interface swp1-22
nv config apply
date

Config MLAG leaf01 and leaf02

nv set interface bond11 bond member swp16
nv set interface bond11 description Leaf-to-Spine-Connection
nv config apply
nv set interface bond11 bond mlag id 1
nv config apply
nv set interface bond11 bridge domain br_default
nv config apply

leaf01

nv set interface peerlink bond member swp17-18
nv set mlag mac-address 22:45:20:AE:FF:AA
nv set mlag backup 192.168.5.204 vrf mgmt
nv set mlag peer-ip linklocal
nv config apply

leaf02

nv set interface peerlink bond member swp17-18
nv set mlag mac-address 22:45:20:AE:FF:AA
nv set mlag backup 192.168.5.203 vrf mgmt
nv set mlag peer-ip linklocal
nv config apply

Check Status leaf01 and leaf02

nv show mlag
nv show mlag consistency-checker global

VLAN

Command

nv sh interface swp1
nv set interface swp1
nv unset interface swp1
nv set interface swp1 ip address 192.168.5.230/24
nv config apply
sudo cl-poweroff

Linux ลืม Password, เพิ่ม User, เพิ่ม sudo User

เพิ่ม User ที่มีสิทธิ์ sudo

  1. กด ESC ก่อน Boot เข้า Linux
  2. เลือก Advanced Options for Ubuntu
  3. เลือก (recovery mode)
  4. เลือก root
  5. กด Enter
  6. adduser <username>
  7. usermod -aG sudo <username>
  8. groups <username>
  9. reboot

เปลี่ยน Password ให้ User
ทำขั้นตอน 1-5
passwd <username>

เพิ่มสิทธิ์ sudo ให้ User
ทำขั้นตอน 1-5
usermod -aG sudo <username>

ติดตั้ง SSH บน Windows Core

Get-WindowsCapability -Online | ? Name -like ‘OpenSSH*’

Name : OpenSSH.Client~~0.0.1.0 
State : Installed

Name : OpenSSH.Server~~0.0.1.0
State : NotPresent

Add-WindowsCapability -Online -Name OpenSSH.Server~~~~0.0.1.0

Path :
Online : True
RestartNeeded : False

Start-Service -Name “sshd”
Set-Service -Name “sshd” -StartupType Automatic
Get-Service -Name “sshd” | Select-Object *

Name : sshd
RequiredServices : {}
CanPauseAndContinue : False
CanShutdown : False
CanStop : True
DisplayName : OpenSSH SSH Server
DependentServices : {}
MachineName : .
ServiceName : sshd
ServicesDependedOn : {}
ServiceHandle : SafeServiceHandle
Status : Running
ServiceType : Win32OwnProcess
StartType : Automatic
Site :
Container :

ค่า Default Shell เป็น CMD ต้องเปลี่ยนเป็น Powershell ก่อนถึงจะ SSH เป็น Powershell ได้

New-ItemProperty -Path “HKLM:\SOFTWARE\OpenSSH” -Name DefaultShell -Value “C:\Windows\System32\WindowsPowerShell\v1.0\powershell.exe” -PropertyType String -Force

vCenter เตือน Certificate Status ทั้งที่ Renew Certificate ไปแล้ว

เข้าไปดู Certificate ทั้งหมดไม่เจอที่ Expire ปัญหาเกิดจากไฟล์ CRS หมดอายุ

วิธีแก้

for store in $(/usr/lib/vmware-vmafd/bin/vecs-cli store list | grep -v TRUSTED_ROOT_CRLS); do echo "[*] Store :" $store; /usr/lib/vmware-vmafd/bin/vecs-cli entry list --store $store --text | grep -ie "Alias" -ie "Not After"; echo "===================================================="; done;

ผลลัพธ์

[*] Store : MACHINE_SSL_CERT
Alias : __MACHINE_CERT
Not After : Oct 11 03:53:39 2026 GMT
Alias : __MACHINE_CSR
Not After : Oct 11 06:23:45 2024 GMT

จะเห็นว่า __MACHINE_CSR หมดอายุ วิธีแก้คือลบไฟล์นี้ด้วยคำสั่ง

/usr/lib/vmware-vmafd/bin/vecs-cli entry delete --store MACHINE_SSL_CERT --alias __MACHINE_CSR

Windows Core Error Failed to release DHCP lease

ดู Interface ที่ต้องการแก้ไขด้วย command

Get-NetAdapter

ตัวอย่างลบ Config ที่ Ethernet0

Remove-NetIPAddress -InterfaceAlias Ethernet0 -confirm:$False

Fixed IP Address ด้วย command

New-NetIPAddress -InterfaceAlias Ethernet0 -IPAddress 172.16.1.2 -PrefixLength 24 -DefaultGateway 172.16.1.1

ถ้า Error: Instance DefaultGateway already exists ให้ใช้ Command นี้ก่อน แล้ว Fixed IP Address ใหม่อีกครั้ง

Remove-NetRoute -InterfaceAlias Ethernet0

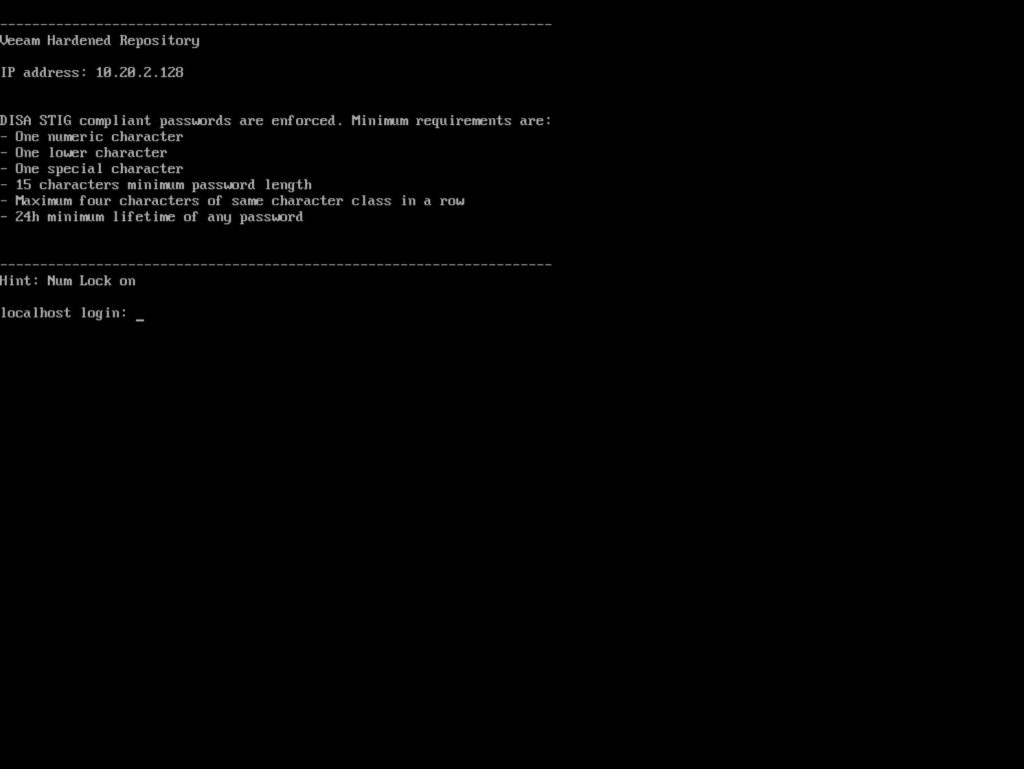
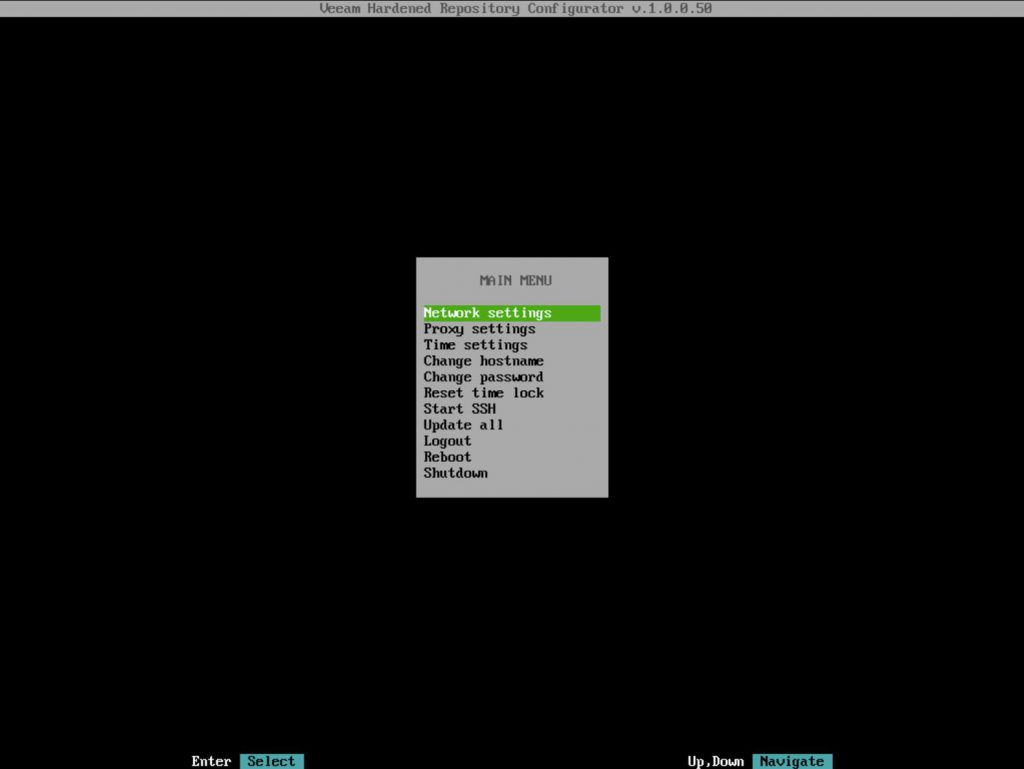
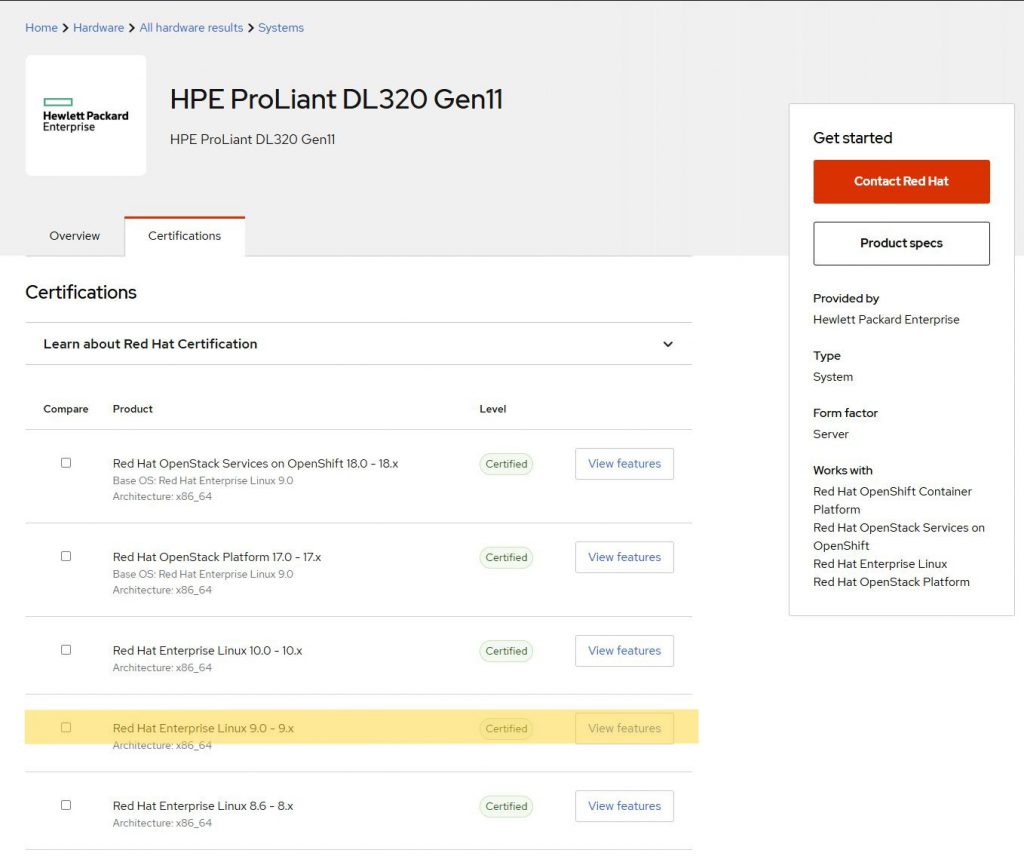
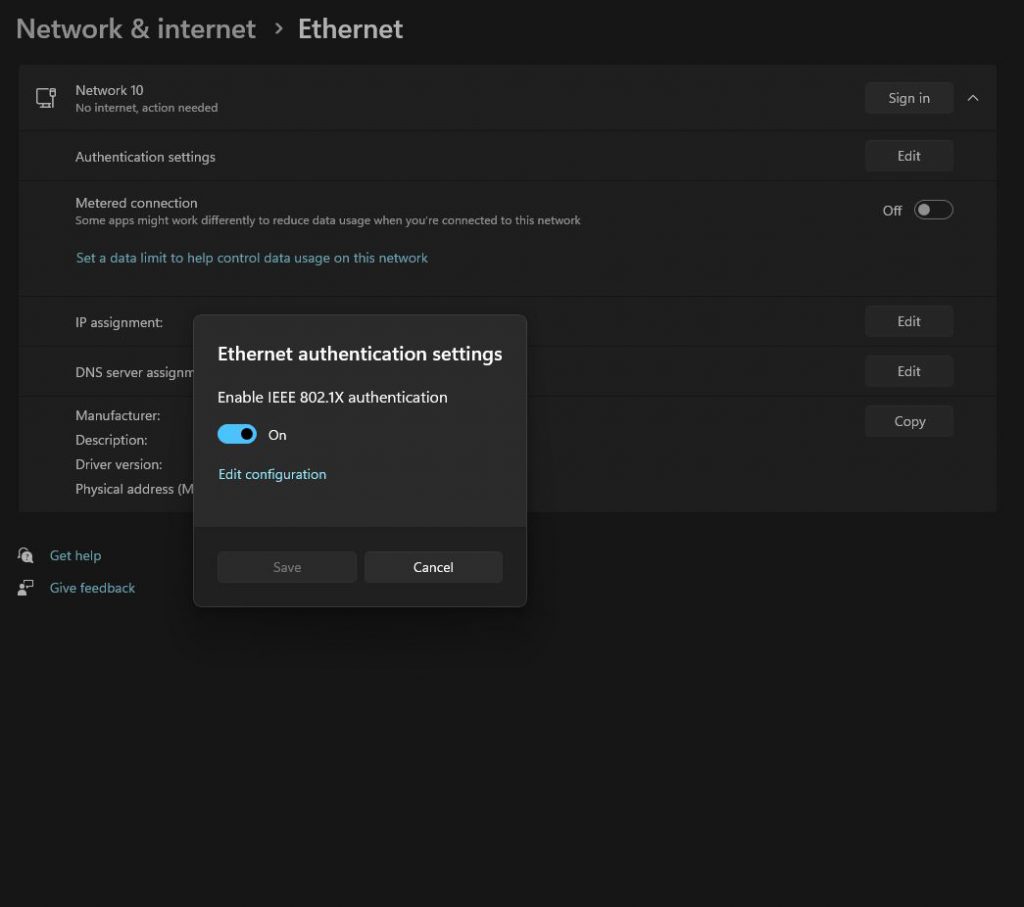
Ubuntu 24.04 for Veeam Hardened Repository – 2. Configuration

ดูวิธีติดตั้ง Ubuntu ที่นี่

sudo -s
apt update && sudo apt upgrade
apt install nano

********จด PASSWORD ที่ใส่ตรงนี้เอาไว้ถ้าลืมจะเข้า Root Recovery Mode ไม่ได้*********

root@xfs:/home/trac# grub-mkpasswd-pbkdf2
Enter password:
Reenter password:
PBKDF2 hash of your password is grub.pbkdf2.sha512.10000.6A3D605329C75C953013AF024D3F3D91A5FE8354B868E6B9C2292FD3569CA25C2BFA4F2DD834573F350CCAE58D5A1DD62D643FABD1A82805DFBB76BE57D72C95.AD10869820BE431B1A933D4A22E502430EB67C4ADA401ACCBCB9C65A6180589C1E7DA03EDE8DDF9C9FB6EB22EC81C8F50E0313DD35E884B4CB75831598FE50CF
root@xfs:/home/trac#

nano /etc/grub.d/40_custom
add password to line password_pbkdf2 root

set superusers="root"
password_pbkdf2 root grub.pbkdf2.sha512.10000.6A3D605329C75C953[…]

nano /etc/grub.d/10_linux
add the –unrestricted parameter to the CLASS variable

CLASS="--class gnu-linux --class gnu --class os --unrestricted"

เสร็จแล้วใช้คำสั่งตามนี้

update-grub
timedatectl
timedatectl set-timezone Asia/Bangkok
useradd veeamuser --create-home -s /bin/bash
passwd veeamuser
usermod -a -G sudo veeamuser
df -Th
chown -R veeamuser:veeamuser /Backup/
chmod 700 /Backup/
ll /Backup

Add Repository to VEEAM

Back to Ubuntu

**********หลังจากขั้นตอนนี้จะ SSH ไปที่เครื่องนี้ไม่ได้ ต้องเข้าผ่านหน้าเครื่อง แนะนำให้ถอดสาย iLO เพื่อความปลอดภัย**********

deluser veeamuser sudo
systemctl disable ssh.service
systemctl stop ssh.service ssh.socket

PostgreSQL Install With SSL Connection


Install PostgreSQL
https://www.cherryservers.com/blog/how-to-configure-ssl-on-postgresql

dnf update
dnf module list postgresql
dnf install https://download.postgresql.org/pub/repos/yum/reporpms/EL-8-x86_64/pgdg-redhat-repo-latest.noarch.rpm
dnf -qy module disable postgresql
dnf install postgresql14 postgresql14-server -y
/usr/pgsql-14/bin/postgresql-14-setup initdb
systemctl start postgresql-14
systemctl enable postgresql-14
systemctl status postgresql-14
ss -pnltu | grep 5432
sudo su
su – postgres
psql
ALTER USER postgres WITH PASSWORD ‘YOUR@PASSWORD’
\q
exit

certificate

cd /var/lib/pgsql/14/data
openssl genrsa -aes128 2048 > server.key
ls -l | grep server.key
openssl rsa -in server.key -out server.key
chmod 400 server.key
chown postgres.postgres server.key
openssl req -new -key server.key -days 365 -out server.crt -x509 -addext “subjectAltName = DNS:postgresql.trac.local”
cp server.crt root.crt

Edit postgresql.conf
nano /var/lib/pgsql/14/data/postgresql.conf


listen_addresses = ‘*’
max_connections = 300
shared_buffers = 128MB
ssl = on
ssl_ca_file = ‘root.crt’
ssl_cert_file = ‘server.crt’
ssl_crl_file = ”
ssl_key_file = ‘server.key’
ssl_ciphers = ‘HIGH:MEDIUM:+3DES:!aNULL’ # allowed SSL ciphers
ssl_prefer_server_ciphers = on

Edit pg_hba.conf
nano /var/lib/pgsql/14/data/pg_hba.conf


hostssl all all 192.168.3.82/32 scram-sha-256
hostssl all all 192.168.3.83/32 scram-sha-256
host all all 192.168.3.82/32 trust
host all all 192.168.3.83/32 trust


systemctl restart postgresql-14
firewall-cmd –add-service=postgresql –permanent
firewall-cmd –reload
psql -U postgres -p 5432 -h postgresql.trac.local

for PrivX Server Connection

yum install ca-certificates
update-ca-trust force-enable
copy server.crt to /etc/pki/ca-trust/source/anchors/
update-ca-trust extract

create user

sudo -u postgres createuser <username>

Mellanox MLAG Configuration

เตรียม IP Address

Management IP
Switch 1 Management IP : 192.168.1.11
Switch 2 Management IP : 192.168.1.12
MLAG IP : 192.168.1.10 (Subnet เดียวกับ Switch 1,2 Management IP)

IPL IP ไม่ตรงกับ Subnet ที่มีใช้งานอยู่แล้วในบริษัท
Switch 1 IPL IP : 10.1.4.10
Switch 2 IPL IP : 10.1.4.11

Config Switch ทั้งคู่

# configure terminal
# hostname SwitchX
# interface mgmt0
# ip address 192.168.1.11 255.255.255.0
# exit
# ip route vrf mgmt 0.0.0.0/0 192.168.1.254
# ip name-server vrf mgmt 192.168.1.1
# ip domain-list domain.local

# en
# configure terminal
# lacp
# no spanning-tree
# ip routing
# protocol mlag
# dcb priority-flow-control enable force

Config IPL ทำที่ Switch ทั้งคู่ ใช้ Port ที่ Link ระหว่าง Switch หากัน

# interface port-channel 1
interface port-channel 1 ) # exit

# interface ethernet 1/35 channel-group 1 mode active
# interface ethernet 1/36 channel-group 1 mode active

# vlan 4000
vlan 4000) # exit

# interface vlan 4000
interface vlan 4000 ) # exit

# interface port-channel 1 ipl 1
# interface port-channel 1 dcb priority-flow-control mode on force

Config IPL Switch 1

# interface vlan 4000
interface vlan 4000 ) # ip address 10.4.1.10 /24
interface vlan 4000 ) # ipl 1 peer-address 10.4.1.11
interface vlan 4000 ) # exit

Config IPL Switch 2

# interface vlan 4000 on switch 2
interface vlan 4000 ) # ip address 10.4.1.11 /24
interface vlan 4000 ) # ipl 1 peer-address 10.4.1.10
interface vlan 4000 ) # exit

Config MLAG ทำที่ Switch ทั้งคู่

# mlag-vip my-mlag-vip-domain ip 192.168.1.10 /24 force
# mlag system-mac 00:00:5E:00:01:5D
# no mlag shutdown

ตัวอย่างสร้าง 3 mlag-port-chanel ทำที่ Switch ทั้งคู่

# interface mlag-port-channel 1-3
# interface mlag-port-channel 1-3) # exit

# interface ethernet 1/1 mlag-channel-group 1 mode active
# interface ethernet 1/2 mlag-channel-group 1 mode active

# interface ethernet 1/3 mlag-channel-group 2 mode active
# interface ethernet 1/4 mlag-channel-group 2 mode active

# interface ethernet 1/5 mlag-channel-group 3 mode active
# interface ethernet 1/6 mlag-channel-group 3 mode active

# interface mlag-port-channel 1-3 no shutdown